Steering
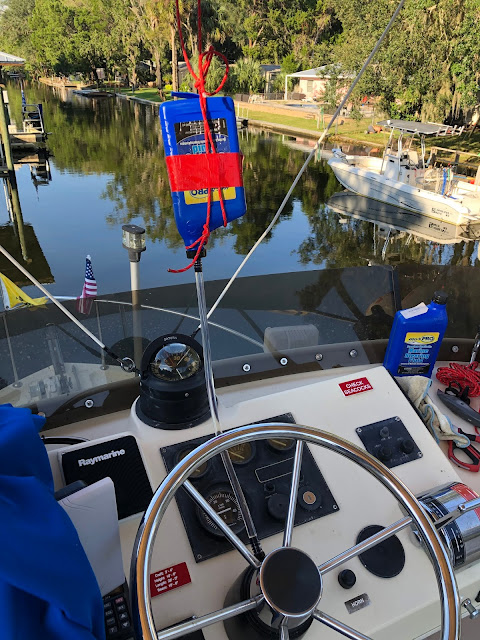
My Camano has 2 stations, one on the flybridge & the other down below in the main salon. The helm steering is a Sea Star 1.7 pump, which means it takes 7 turns of the wheel lock to lock. So in other words, if you turn the wheel completely one direction, then spin it 3 1/2 times in the opposite direction, the rudder will be midship.
I ordered 2 kits. The kit comes with a new Lock Nut, woodruff key, 3 stainless steel screws, seal cover & rubber seal. I really could have just used the rubber seal itself but could only find bulk quantities so the kit was the easiest way to go.
Starting with the upper station, the first thing was to remove the wheel cap. There is a 3/32” set screw to back out & then gently pry the plastic cover off. If the set screw won’t budge you can try some penetrating oil or pry the plastic cover off starting opposite the set screw. This may damage the cover some.
Using a 15/16” deep well socket, I backed the locking nut off until it was slightly above the shaft.
There is not enough room to use a wheel puller so raising the nut up slightly above the shaft allowed me to give it a couple "whacks" without damaging the shaft. Fortunately the wheel loosened up and I was able to take the nut the rest of the way off & take the wheel off. Sometimes they don't come off that easy and it takes more time, patience & "whacking".
With the wheel off, I removed the Woodruff Key. It needed to be tapped with a hammer & screwdriver to get it out. Now is a great time to clean the area around the shaft well and make sure there is no dirt or debris in the area.
I removed the 3 stainless steel screws & remove the cover over the rubber "o" ring.
A sharp pick or screwdriver is used to carefully remove the rubber "O". Since this was the upper station and at the highest part of the steering system virtually no fluid came out around the shaft.
I installed the new "O" ring, carefully pushed it down in the groove & fastened the new cover in place with the 3 new screws. Now it was just a matter of putting the Woodruff Key back in, placing the wheel on & installing the new nut.
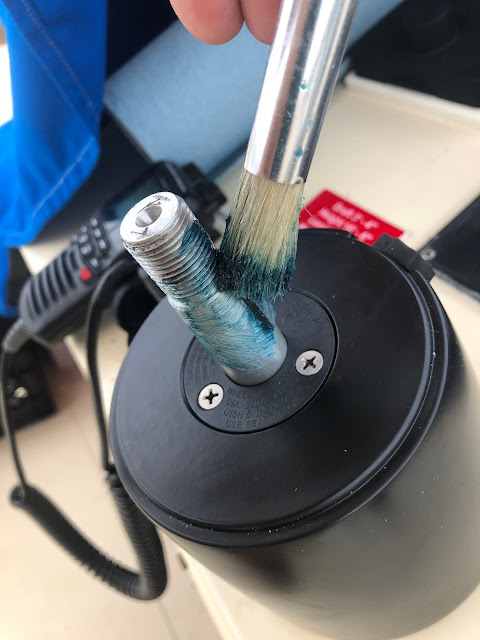
Before I did all of that I put some grease on the shaft, that way if I have to remove the wheel in the future, it should be easy.
Once complete I checked the fill plug & noticed the "O" ring on it was cracked & split. I will have to pick one up at a hardware store and replace it later. "It's always something".
 |
| Measured the "O" Ring |
Now on to the lower station. The wheel down here is totally different. The first challenge was figuring out how to get the Chrome cap off. I searched the Internet but didn't find any clues so I took a chance and started tapping around the edge with the end of a screwdriver. After a couple times around it looked as though it was starting to come off. I kept at it rotating the wheel until it popped off. It was on pretty tight & took off a little paint from the wheel with it.
Same as before I backed the lock nut off.
This wheel however had enough room behind it to get a wheel puller on.
The wheel came off with no struggle at all.
This shaft was different from the wheel up top. It had a collar cover over the tapered end with a slot for the key. I removed the Woodruff Key. The wheel puller came in handy to remove this as well.
Now the sequence was the same as the upper station...with one difference. Since this was the lower station there was steering fluid above this helm and that meant there was some pressure on it.
I had to make sure I had an oil absorbing pad & a container to catch the fluid that was sure to come out. I also had to be ready to put the new "O" ring in rather quickly to avoid a huge mess. I got my tools ready & the new parts close by & quickly swapped the seal out. Having done the upper station proved to be good practice.
Once I replaced the "O" ring on the upper seal, I topped off the fluid & was ready to go.
There are 2 kinds of fill caps. Vented & Non-Vented. The upper station should be the vented type & the lower station should have the non-vented.
 |
| Bleeding the Upper Station |


Comments
Post a Comment