Posts

Showing posts from August, 2020

The Dreaded Dripless Shaft Seal - Part II
Image
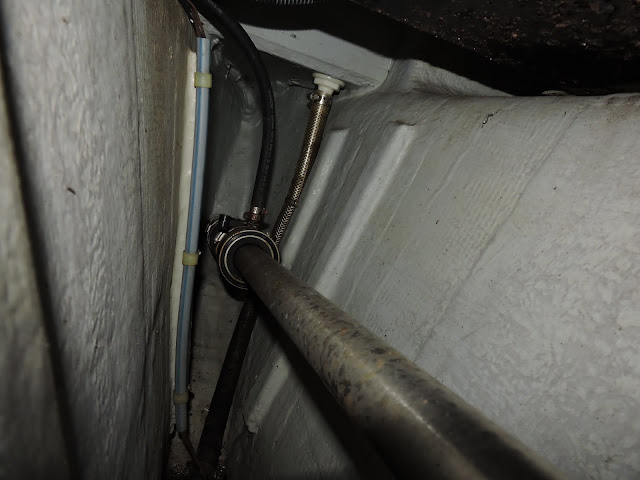
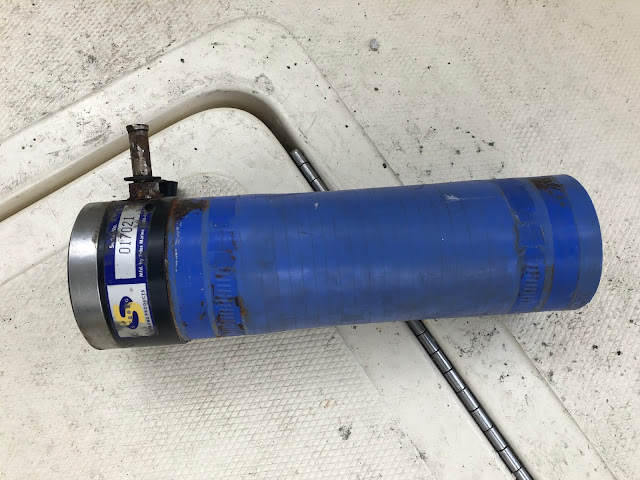
      Not only will this post be about replacing the Dripless Shaft Seal, it will be about the Cutless Bearing as well.   A Cutless Bearing works by drawing in a flow of water which lubricates the shaft (lucky for us since the bottom of the boat has an endless supply of lubrication).     Since the dripless seal was 20 years old, & I could find no record of a bearing replacement, I summarized that cutless was original as well.  The previous owner said the cutless was "maintenance free", if you have owned an inboard shaft boat you know that is not the case. A cutless can have a long life (like this one did) or a short one. If a boat is run in a lot of sandy silted water, the water drawn thru the cutless contains that sand & it becomes is an abrasive that wears away at both the bearing and the shaft.  Also a mis-aligned shaft can wear out a bearing, this is generally noticed when one side of the inner core is a bit thinner than the other. My cutless was OK but definitely
Prop Walk

Image
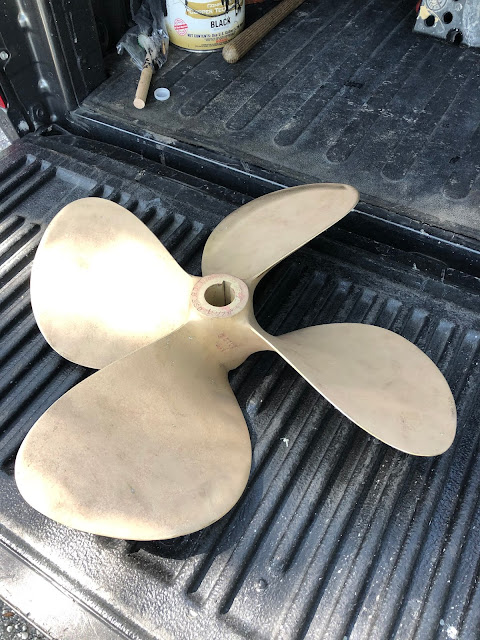
      In changing out the dripless seal I also turned my attention to the prop.       After the shaft removal, I pulled the prop off.  I have a large prop puller I purchased years ago when I owned my larger twin screw boat.  This tool comes in handy, especially when you have "whacked" as many rocks as I have.  With unprotected props in an area of a lot of shallow water like we have here in Crystal River, it happens. I think a puller is by far the easiest way to get a prop off without beating the crap out of it (which again I would not recommend but I did underwater the first time I "dinged" them).       My prop puller is for a larger diameter shaft & larger props so I had to use my pipe wrenches as a spacer.  If you are removing the prop while the shaft is still in the boat, after the cotter pin is removed, just back the nuts off & remove only the outer nut but DO NOT remove the inner nut.  I was on the ground so I took both nuts off.  The C Clamp shaped pul

Small Projects & Repairs

Image
     There is always a "TON" of small projects to be done on any boat and as I said, when the boat is 20 years old, there are tons more.    This post is about some (not all, remember, there are tons!) of those small projects to spruce up the old girl & get her even more ready for her Great Loop adventure.  So many of the items originally installed just aren't out there to purchase, so using my own shop and local resources I have gotten some hard to find items replaced.     One thing I have been doing is new graphics, striping, placards & such to replace the ones that are missing, faded or maybe should be there but are not.  I had some binnacle control stickers made for both the upper & lower station that look like the Kobelt but have "Camano" on them as well as placards with reminders or pertinent info on them.     I installed a new head and replaced the gross looking non skid in the floor with a draining mat.  The placard on the lid says "NOTHI

Galley Tops

Image
          The Galley on the Camano was starting to show it's age (just like all of us).  I have started some interior remodel projects as well as the mechanical ones.  This project will be on going as I "trick out" the small galley to make it both nicer looking & easier to use.  I noticed the teak woodwork on the counters and handholds was sticky and in many places losing it's finish.  I taped off around all the edges of the countertop teak and using some stripping gel I removed the finish.       The finish came off very easily on all of the rails except on 1 rail in the galley in front of the range where someone had applied a coat of varnish (not a great job either, pretty heavy & full of runs).  That rail took alot of elbow grease and some sanding.  Once the finish was removed, I sanded all of the stripped rails, wiped them down & applied a couple coats of  Danish Oil with a piece of cheese cloth.  This finish is easy to apply and gives a super nice look

The Dreaded Dripless Shaft Seal - Part 1

Image
    Any boat owner knows the frustration when you need to repair something and your pretty sure that either the boat builder was an idiot or they employ some very spry, very tiny workers with long arms and skinny fingers...    Since buying the boat I have dreaded dealing with the dripping "Dripless" shaft seal.  I have laid awake in bed for hours thinking, how in the heck am I going to deal with this thing?  No really, I have. I solicited advice from anyone with this boat or anyone that has had to deal with an inaccessible shaft seal.  Not one productive hint, although one dude suggested "...pay a mechanic, let them figure it out."  I just didn't think that was the answer.       Originally the access to the seal was not bad, but in this boat, a previous owner installed a generator in really what is the only practical place.  One thought was to remove the generator, which someone suggested would need to be done at some point to service it.  Again, I did think abo

After Cooler

Image
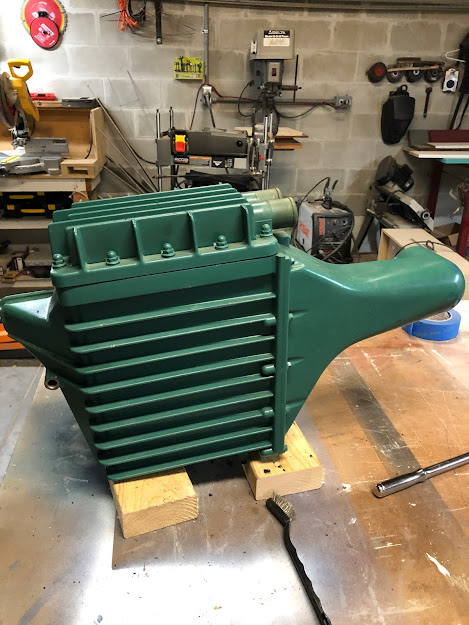
    Keeping your boat in fresh water has advantages when it comes to seawater cooled engines. I have lived on a somewhat brackish/freshwater canal for 19 years. Every time I have removed a lower unit or a seawater cooled part for service or inspection, they have remained pretty clean due to a good freshwater flushing.  Running from the Gulf up the Crystal River to home (a solid 45 minutes of freshwater in a warmed up engine) is convenient and good for the longevity of the system.     This is the last part of the cooling system I intend to clean & service (for now, not forever).  There is still of course the transmission cooler & the oil cooler (I have no fuel cooler which is just as well) but based on what the Heat Exchanger & the After Cooler insides looked like, I feel pretty confident the other two are fine.    So what does the Aftercooler do?  The Aftercooler (also sometimes referred to as the Intercooler) cools the intake air that has been heated by the turbocharger du