Flooring
Our Camano had carpeting & after 20 years it was pretty ugly. We did a lot of brainstorming to decide what type of flooring we wanted to install. We knew we didn't want to go back with carpet in the main salon as it just gets so "cruddy" after awhile. I started at the bow/stateroom area and removed the piece of carpet there which went partially up the sides. I had some 1/4" finished cabinet plywood left over from a job so I installed that on the sides.

This worked out perfect since there was a small lip all the way around the teak top cap & the teak up rights where the old carpet was tucked in & the new plywood could be placed. I left a small gap at the bottom of the plywood so I could tuck the new carpet in. This area will be the only one with carpeting, just seems like a nice landing place for your feet when you climb out of the berth.

I also removed the carpeting from the face of the settee. This teak trim also had a similar groove to allow the plywood to tuck in & create a nice finished edge.


We had considered real wood pre-finished planks but I had some concerns. First was the added weight, second I feared the added thickness would bind the hinges across the engine access & I didn't want to try to remove the hinges and raise them up. Another concern was that wood moves, expands and contracts with moisture much more than the vinyl. I didn't want to take a chance on having it gap and I didn't want to add a trim piece around the entire floor. Last was durability, we just felt the wood finish would not hold up.
We chose vinyl wood planking. Also referred to as Luxury Vinyl Planks. I have used the product in quite a few of my remodeling projects. It goes down easily, is 100% waterproof and is not terribly expensive. There are some floorings that are manufactured specifically for boats, but they are just so expensive. We did not want to spend $1500 or more for flooring.

The easiest section was the Galley & Step. Since the vinyl in the Galley was down tight I roughed up the surface of the vinyl with some sandpaper & cleaned it & went right over it. For the step I had to glue a 1/8" piece of plywood to it to make the two sections match up in height.

Next up, the salon. There was carpet, over a 1/4" solid foam padding over the plywood. I pulled out all the carpet, padding & the tack strips around the edge (& a gazillion little nails & staples). I don't believe this was the original carpet as I found a different carpet inside the seat.

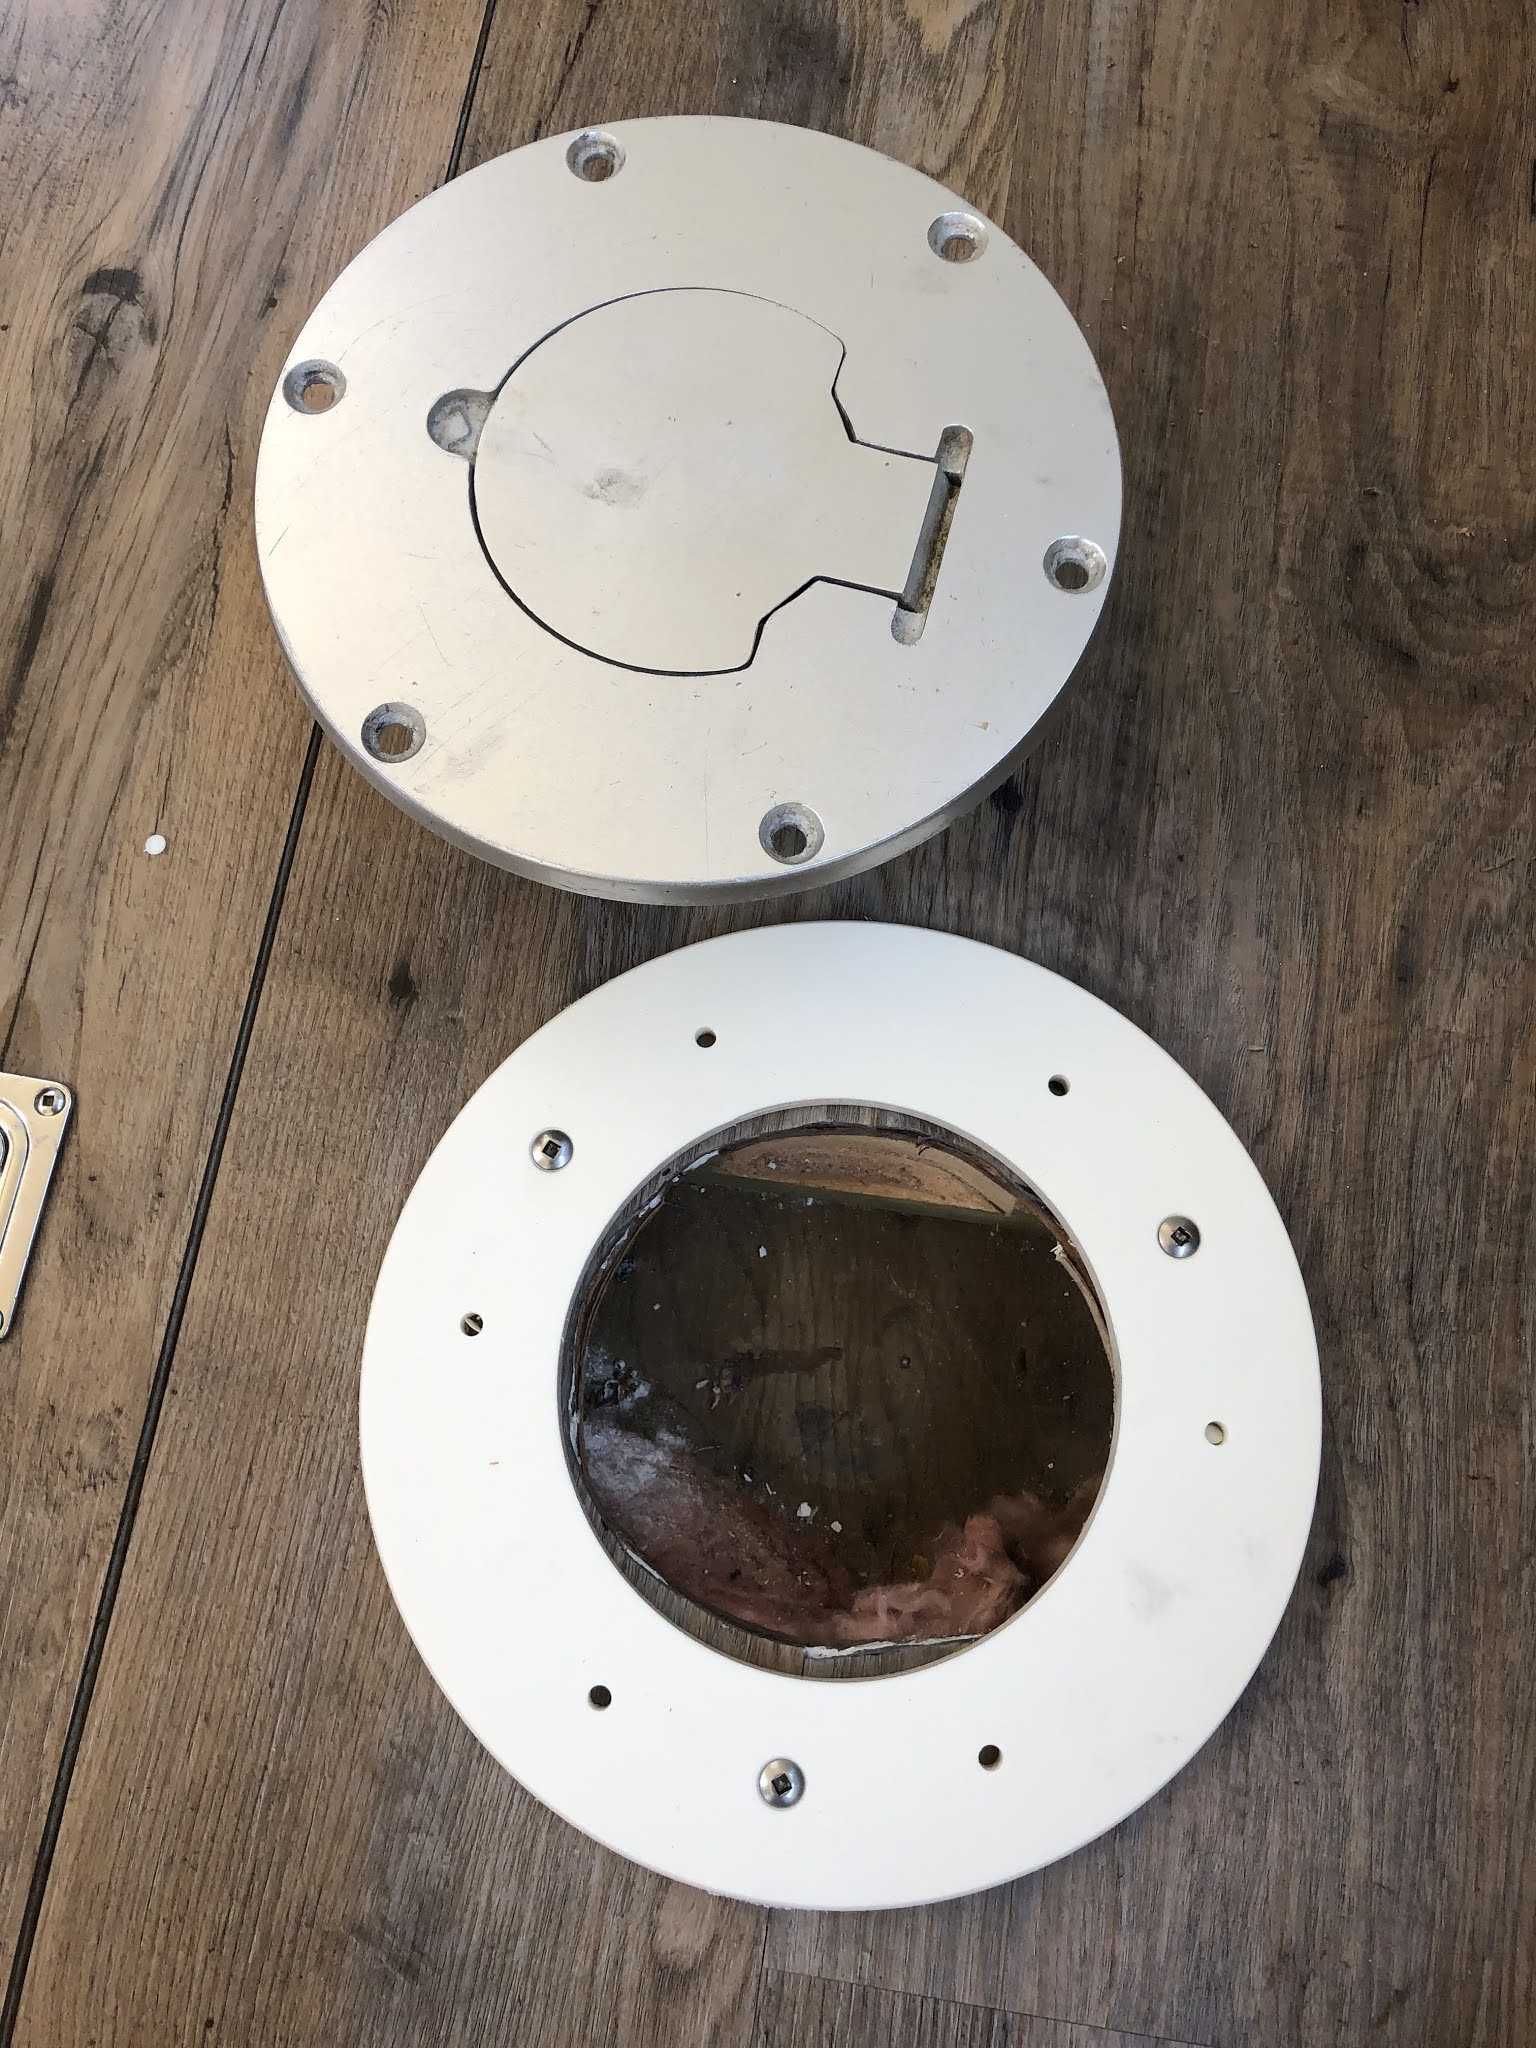
Since the carpet wrapped around the engine access panels, after removal there was a wide gap between the edges of the engine access panels and the surrounding floor. I had to add wood to the edges of the panels. I also filled the two holes for the old table support as my eventual plan was to make a new table with a single post that folded out to make a full table and/or bunk.
I filled all the old nail holes & skimmed out the uneven areas with floor leveler.

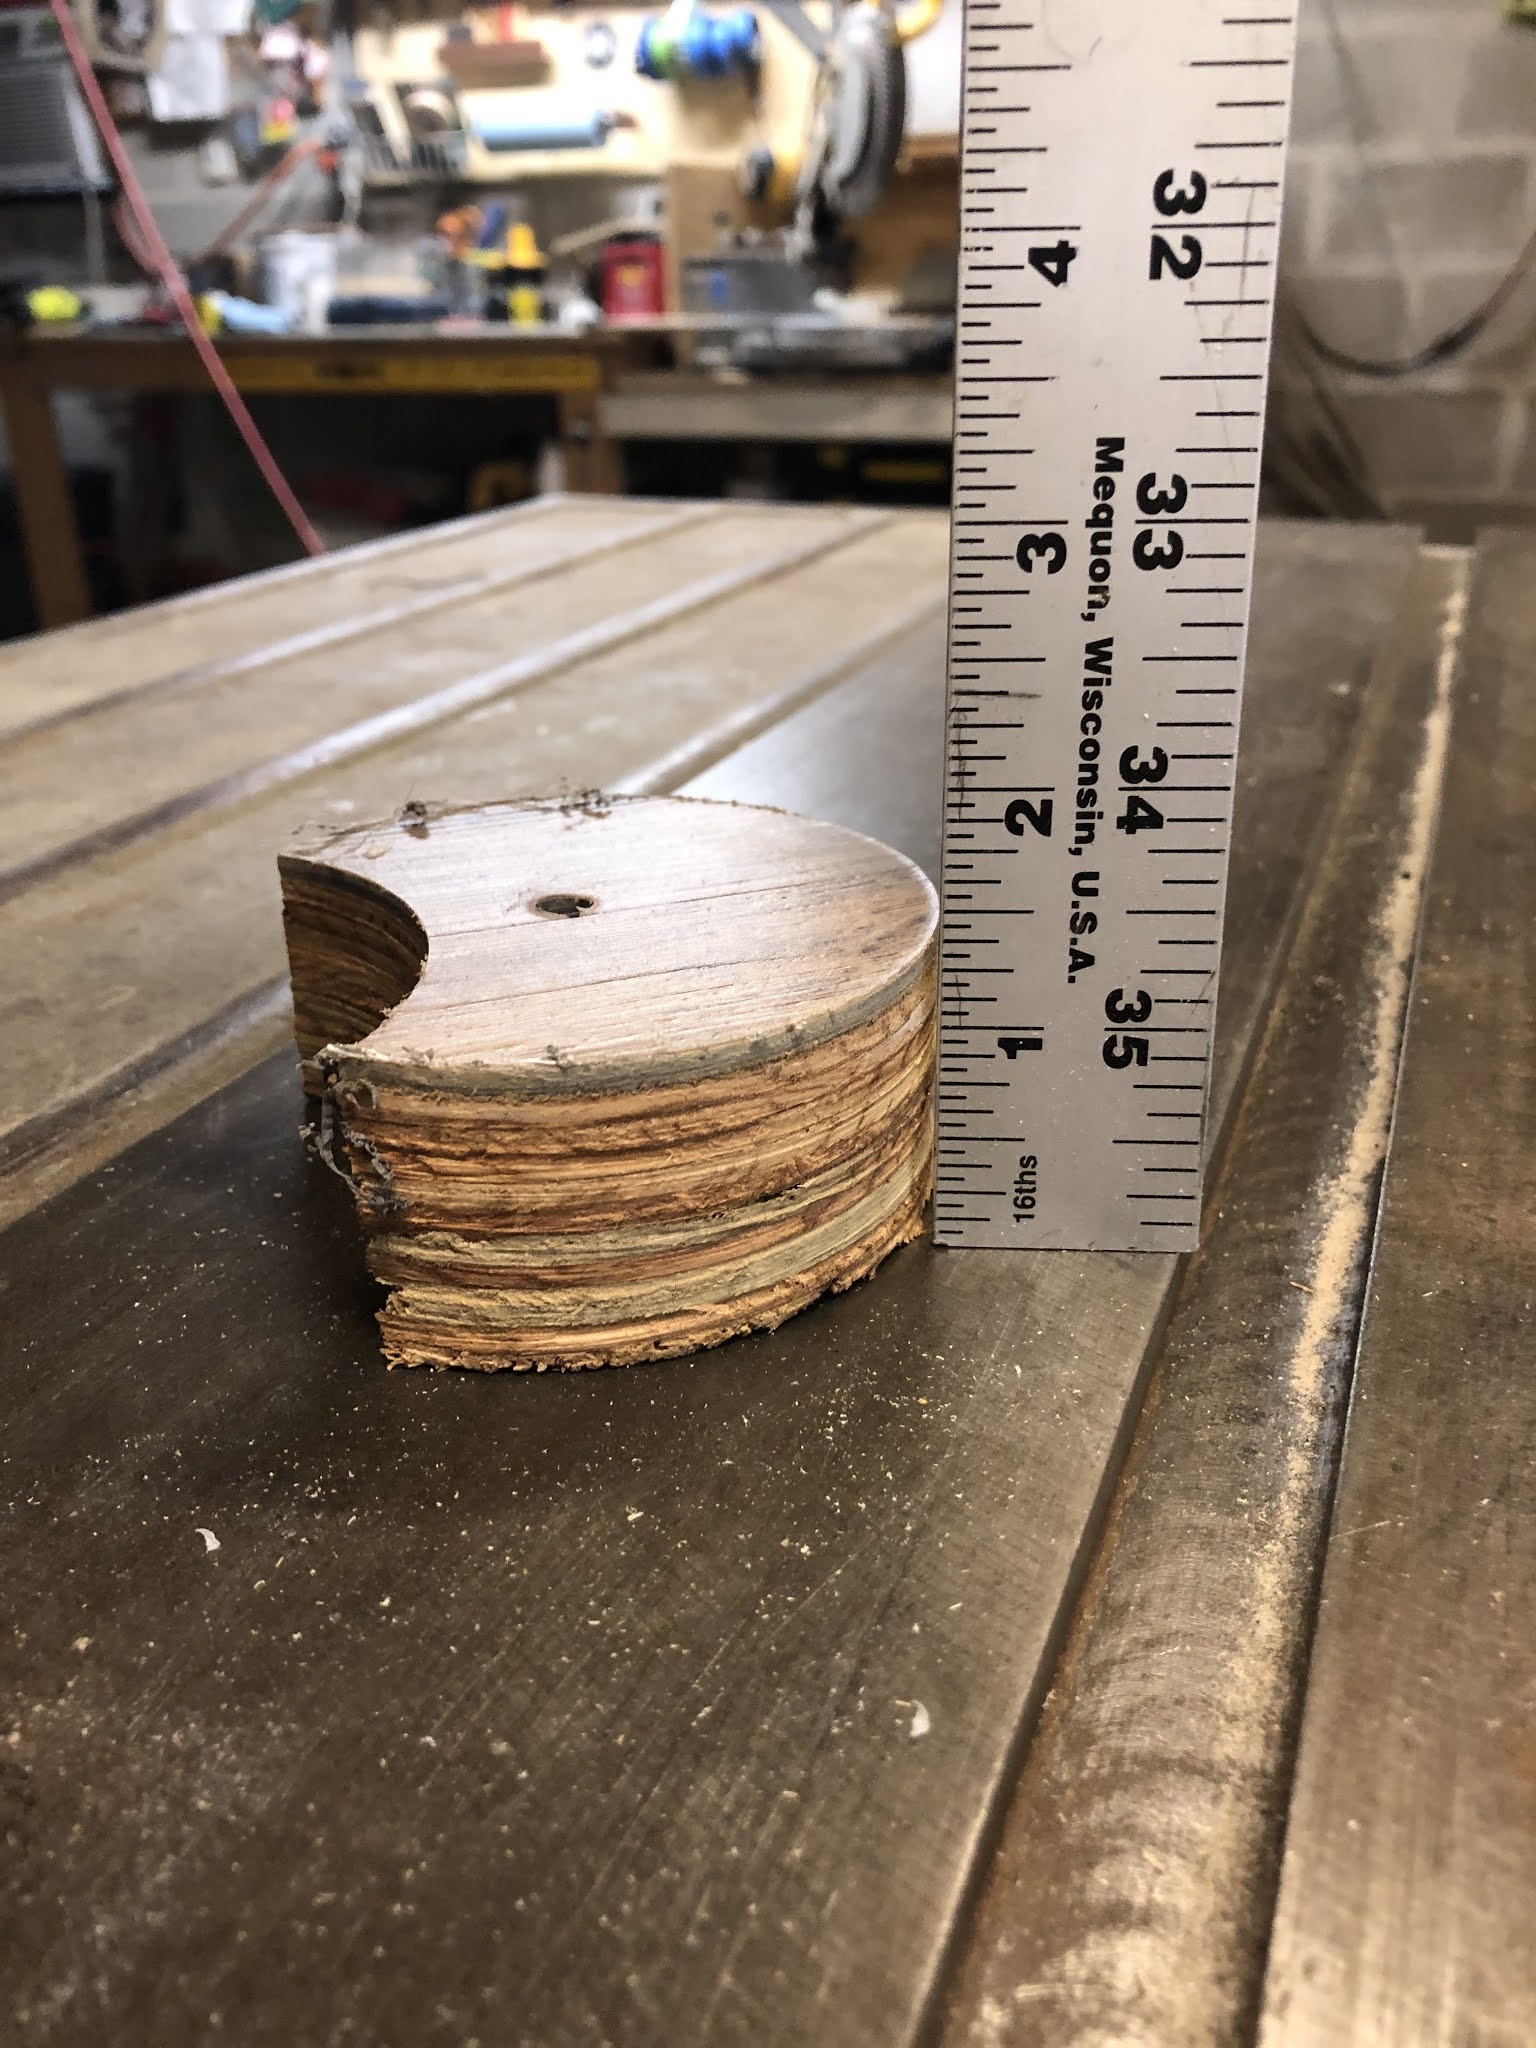
My original plan was to glue down an 1/8" plywood over the existing plywood, but seeing how complex the area was and knowing I probably couldn't get all the gaps around the hatches as good as they were now, I decided to lay the flooring on top of what was there. The floor is a pretty substantial 3/4" Marine Plywood (P.T.) over 2x stingers with another 1/2" plywood on the ceiling of the engine room. In between the 2 layers is fiberglass insulation & foil insulation on the engine room side.


Ohhhh man. First thing I will tackle. Thanks for the post
ReplyDelete