Windscreen

Well after 22 years, the Acrylic windscreen on the flybridge broke. Of course dropping the Bimini top on it didn't help! Smooth move.
I read on the Camano Facebook Group where others had them replaced and at a cost of $800, although a fair price for custom work, I felt I could get the same results for less. Being an old "Shop Teacher" from the 80's, we used Acrylic frequently and always fabricated it by hand. The techniques are a little different but most of the same tools are used.
Materials. I secured a sheet of 1/4" Acrylic. 1/4" Acrylic is really .220 thick. I couldn't get Smoke colored but did get a Gray color #XA-2064 from RS Supply in Port Richie, Florida.
A tool I didn't have was the special Acrylic Point Drill Bits. You cannot use a standard wood twist bit, as they tend to "grab" the material as the bit passes through and most of the time will crack the Acrylic.

Step 1: I labeled each piece with "BOW OUT" and "STARBOARD" or "PORT" and placed one of the side pieces on to a 1/4" piece of plywood, flattened it and screwed it down in order to trace the outline. Both pieces appeared identical except for the placement of the screw holes. So only 1 pattern, turned up or down would work for both sides. I cut the pattern as carefully as possible on the bandsaw and sanded the edges to even them out. The center windscreen is virtually flat so that would serve as the other pattern. I labeled it "BOW OUT" "CENTER".

Step 2: With the 48" x 96" sheet at the shop, I made 2 rips: 1 at 14" wide for the Starboard & Port pieces and 1 at 12" wide for the center piece. I then cross cut the Acrylic rip pieces to length.
Step 3: I laid my patterns on to the Acrylic and traced them out with a Sharpie. I transferred the holes for the fasteners onto the corresponding piece.


Step 4: With each piece marked & labeled I cut them out on the bandsaw. I tried to leave the black Sharpie line to serve as my sanding guide.

Step 5: I started with 80 grit and an Orbital Sander and sanded to and extinguishing the black line. Once this was complete with the first grit, I laid the original pieces on the Acrylic to check that they were accurate. I figured the most crucial was the ends that butt together and ensured they were flat/straight.

Step 6: I went from 80 grit - 100 - 120 - 150 with the Orbital Sander. This took awhile & I marked each piece with the grit I used so I wouldn't forget. This gave my arms quite a workout, being sure I removed the scratches from the grit used before.
Step 7: I now started with 220 grit and switched to a sanding block to gain better control of my edge. I worked from 220 grit - 320 - 400. I had a pretty nice smooth edge. I concentrated mostly on the top edge as that was the exposed edge, whereas the bottom wouldn't be seen. My plan was to "Flame Polish" the edges once the pieces were 100% complete.

Step 8: I marked the center of each hole and got ready to drill the fastener holes. I practiced on a scrap piece to be sure I could create a clean hole without damaging the Acrylic. Once I felt confident, I drilled the windscreen pieces. The holes were 3/8". The Acrylic drill bits worked perfectly.

Step 9: Duplicating the curve of the side pieces proved to be a challenge. I started by creating a bending jig for each side. I laid one of the original pieces on edge and marked the curve. I figured it didn't have to be exact, only close as once they were installed, they would be "snugged up" upon installation on the flybridge.

I then figured that the angle of the windscreen was about 35 deg. although it varies as it comes around the bridge.


Now for the bending jig. I cut the 1/4" arc and transferred it to a piece of 3/4" wood. I had to make 2 pieces by flipping the arc template over for each side. I cut the 3/4" on the bandsaw at 35 deg.


I saved both halves. I then glued & fastened the back 3/4" board to a 1/2" base and left the front matching piece loose to use as a "clamp". I made 2 more 1/4" side panels and wet them to bend into place on my jig to serve as a "backer" for the Acrylic curve.

I fastened the backers in place & cut supports for them & glued them in place.


I left the jigs to set up. A lot of work for bending 2 pieces of Acrylic, and I didn't even know if it would work!
Step 10: Test Bend. While finishing the pieces I also finished a small scrap to monitor my sanding progress and test drill a hole. I also tested heating and shaping the scrap piece. It worked great. I did however discover that any sharp edges in the bending jig will transfer to the Acrylic once it is heated.

I sanded the edges and faces of the jig, rounded the edges and sealed the forms with some sanding sealer. Then I placed a towel over the form. I started by heating the backside of the material, then flipped it over, set it in the form and continued to apply heat at the highest setting.

It takes a loooong time to get it hot, but it finally reached a malleable temperature. Too soft and it started to deform.

The Port side was complete, now to the Starboard side. I was much happier with the way the Starboard side turned out, practice makes perfect.
Step 11: I opted to "Flame Polish" the edges. It takes a fine torch tip. The better you sand, the better the flame polish turns out.

Step 12: Install the Grommets. The original grommets were a hard plastic bushing with a rubber washer washer under the stainless steel screw.

I couldn't find anything a matching bushing so I opted for a Silicone Rubber Grommet from McMaster-Carr that was suitable for outdoors, the black rubber ones are not. I also couldn't find a 3/8" Silicone grommet so I had to go 1 size larger - 7/16". They were a little tight but were also wider providing more material under the washer when I screw them down.

With all the pieces finished it was time for the moment of truth. Do they fit?
Step 13: Installation I started with the center first. I applied a little silicone to each hole, then starting at the centre holes, worked my way out to either end, just “snugging” the screws/washers. I left the two ends a little loose in order to slide the plastic channel between the pieces once I was done. After that, I installed either end in the same way. Starting in the centre and working to the ends.
They fit!

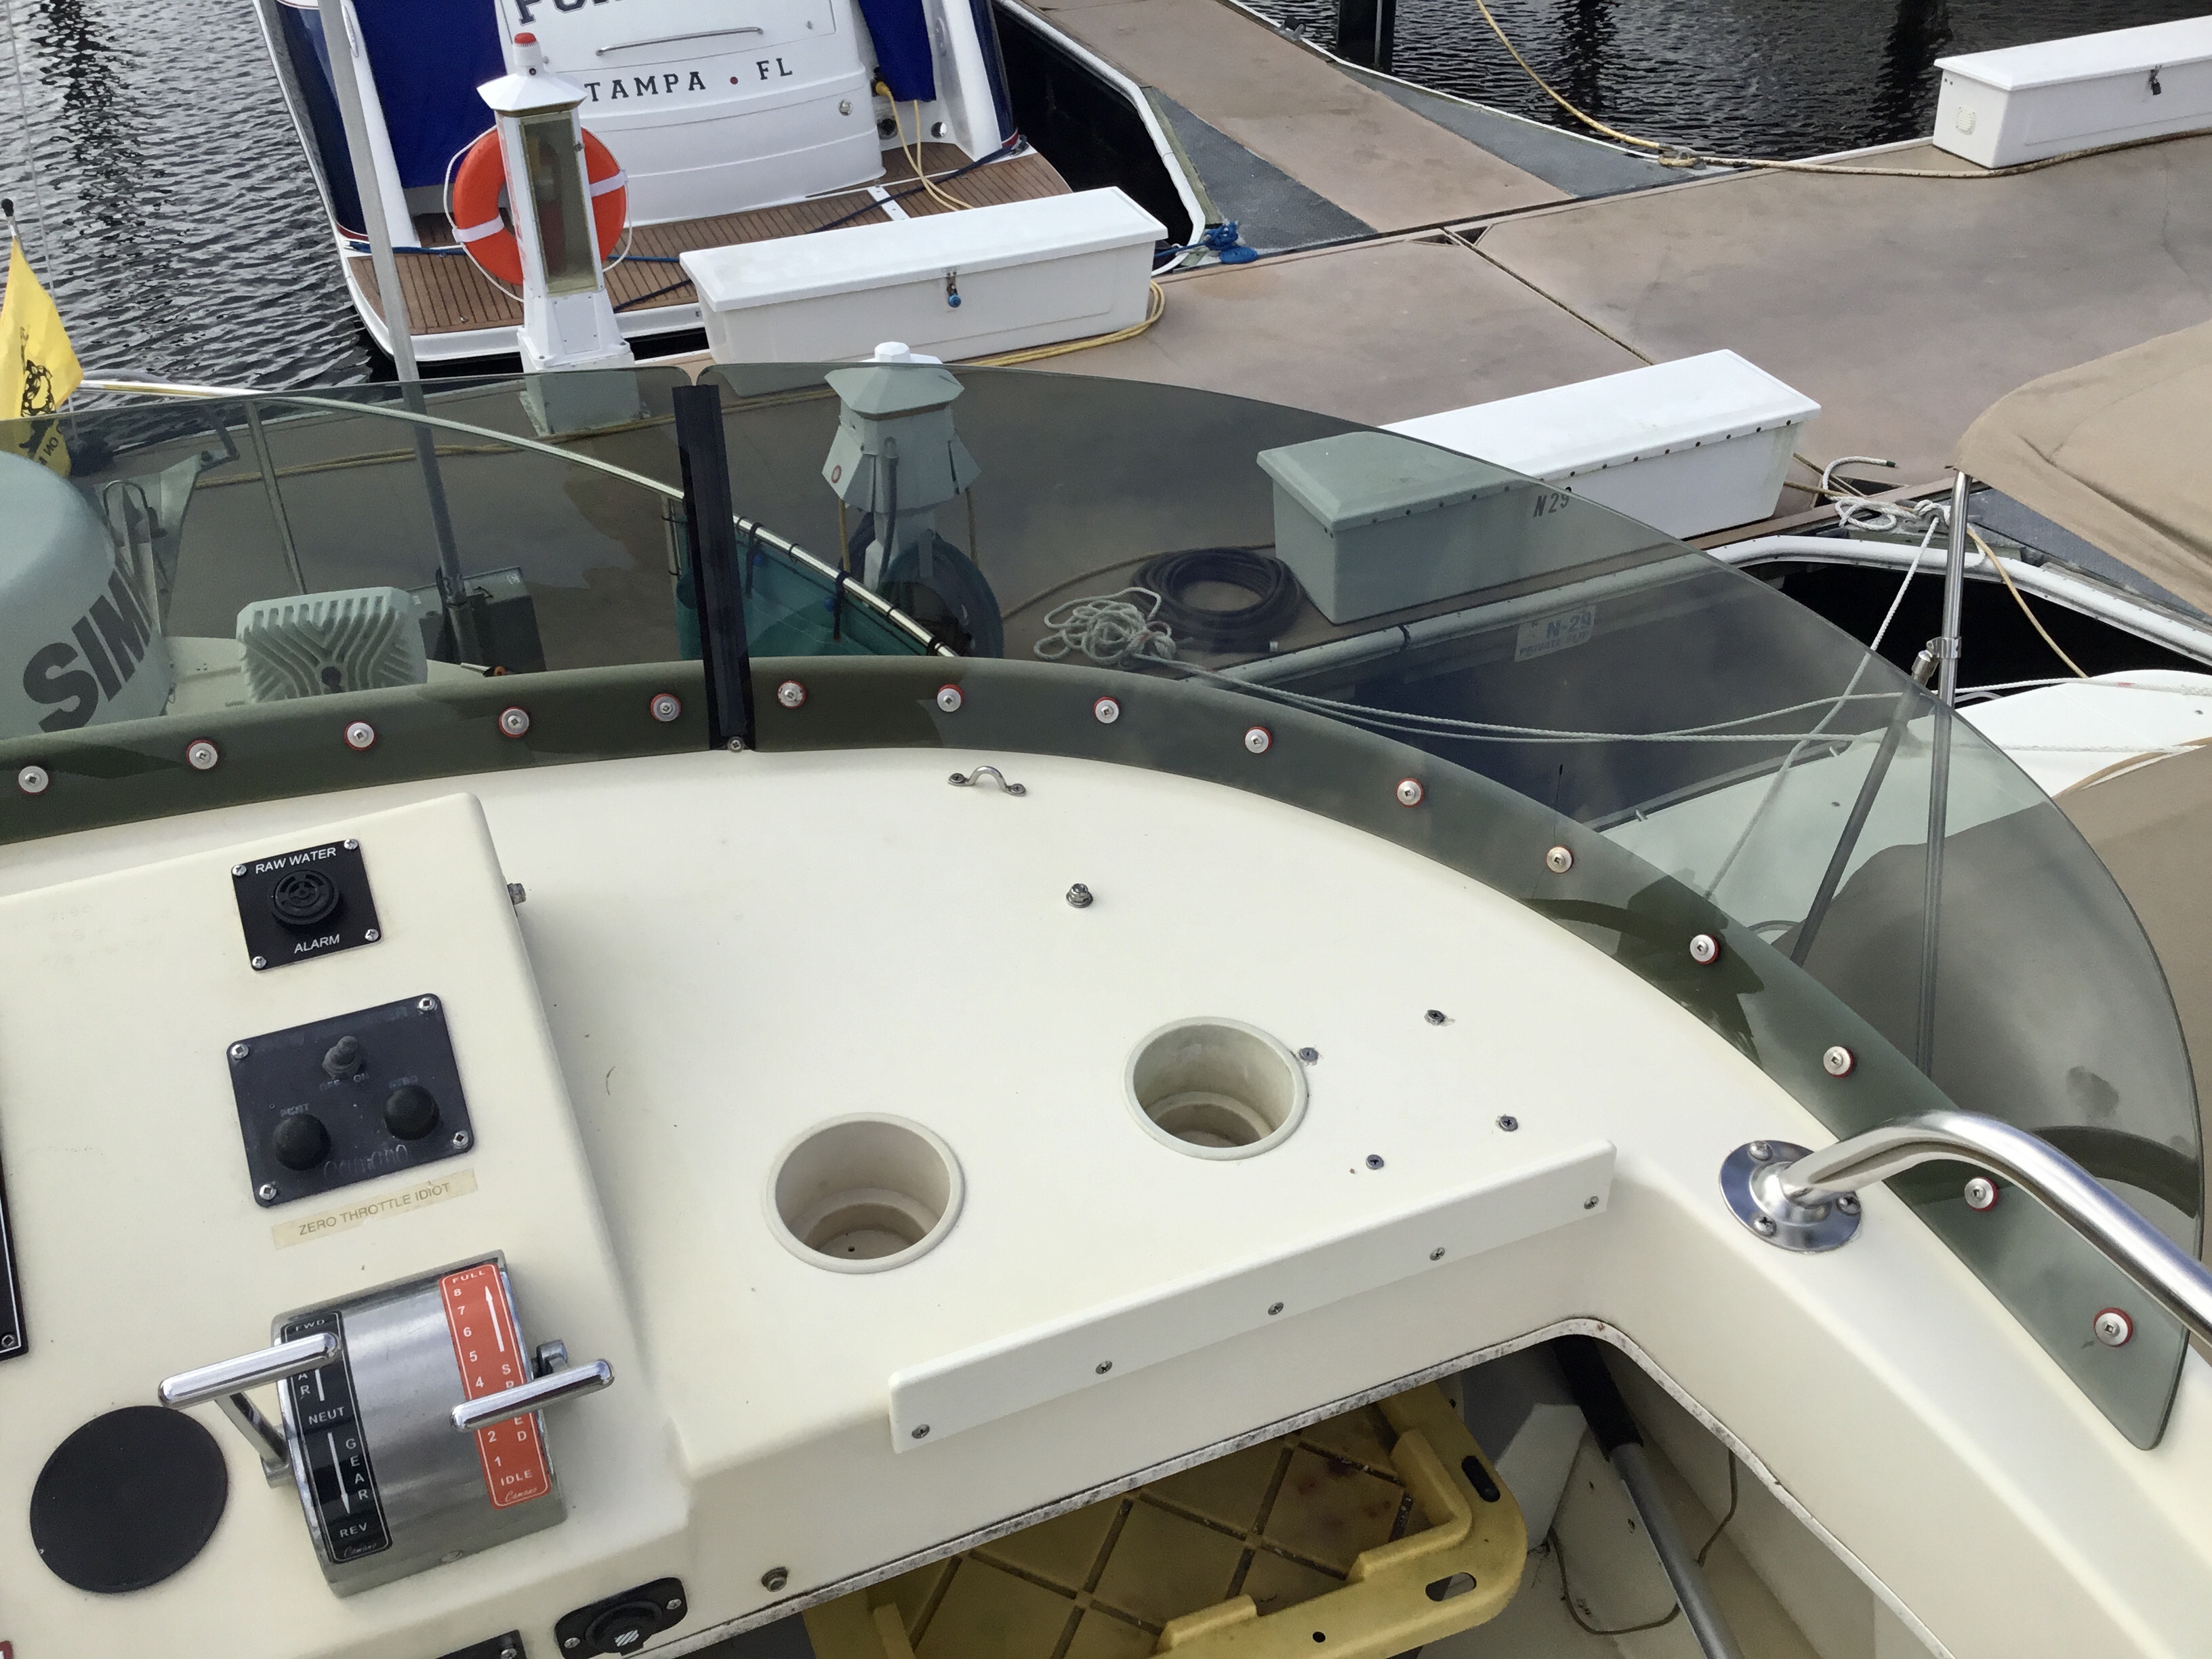
This was a learning process for sure, but the overall result looks better than the original.


Comments
Post a Comment