Oil Change - 200 HP Volvo TAMD41P
This is my 3rd oil change since we bought the boat. Since it is winter and the boat will be idle with very little if any use until Spring, it is a good idea to change the oil. This way I have new clean oil sitting in the engine for the winter months without all those contaminates eating away at it.
Changing oil in the 200 HP Volvo TAMD41-P is pretty straight forward. I firmly believe that virtually every boat owner should do this maintenance job themselves. Two reasons, 1. You save money, 2. You learn your engine.
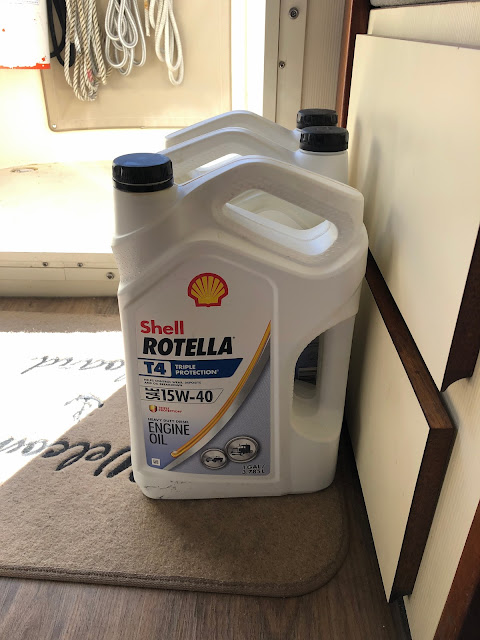
I use Shell Rotella T4 15W-40, as do many. Currently there is a shortage of Shell Rotella, just like everything else in this post-COVID world. I usually keep enough oil on the boat for 2 oil changes. The Volvo TAMD41-P has an oil capacity of 11.6 qts. The OEM oil filter is Volvo Part# 471034-9, a replacement for that can be a FRAM part# PH3306A, I use an oil filter from NAPA Gold #1596 which also works.
Step 1. Start the engine and let it warm up for 15 minutes or longer. This will do a couple of things. First, hot oil will come out of the engine easier, second, this will stir up the oil and contaminates and suspend them in the oil. Shut off the engine.
Step 2. Remove the oil filter. I place an oil absorbent pad under the filter, cover the filter with a large Zip Lock, carefully and slowly spin the filter off. If you take your time, you can contain the mess with the plastic bag & the oil pad. I give it some time so as much oil dribbles out onto the oil absorbent pad.
Get out the new filter, apply some clean oil to the rubber oil ring and spin it back on. I pour a little oil into the filter but since the filter is mounted horizontally you can't put alot in, I just hate to have that dry empty filter on there. Once the filter is on, give it a 1/4 turn or so more. I always write the date and the engine hours on the filter even though I keep an engine maintenance log.
Step 3. Remove the oil. What is a little wacky to me is that this engine does not have a drain plug, the oil has to be syphoned out through the dipstick. I bought a 3.5 gallon 12 volt oil changer from West Marine for this very purpose. The oil changer makes life a lot easier and cleaner.
There are 2 ways to extract the oil, either slide the small tube down into the dip stick or fasten the larger tube to the top of the dip stick. I have used both methods and they seem to work equally well. I think that the later method may be better as I just read a post where a boater with a Volvo (not sure if it was the same model) was having an issue with low oil pressure. After trying everything possible, they resorted to removing the engine and to inspect only to find a small piece of plastic tubing that was clogging the oil pick up. Wonder where that came from? An expensive screw up to be sure.
 |
| Method 1 |
 |
| Method 2 - My Preferred Method |
The extractor gets the oil out pretty fast and you can tell by the sound when it is done. I have thought about changing out the tube with a clear plastic tube so I can see when no more oil is being sucked out.
Now here's the thing, I have never been able to remove all of the oil from the engine. The most I have been able to get out is about 7.5 qts., no matter how I have tried, the result is the same. This is also another reason I change the oil a little more frequently. If anyone has a better way to get more oil out, message me, maybe I'm doing something wrong.
Once I drain out as much oil as possible, I replace the dipstick and dump the used oil into some empty Rotella jugs. This way I can measure what came out so I know how much oil to pour back in.
Step 4. Add the new oil. REMEMBER, I would recommend measuring what comes out so you do not overfill. Once I get just shy of what I know needs to go in, I make sure the dipstick is in, replace the fill cover and start the engine. There is always that tense moment when the oil pressure sits at zero for a few seconds and that sigh of relief when it jumps up to 60 psi or so. Check around the oil filter to be sure there are no leaks. Shut the engine down and wait for the oil to drain back down to the pan.
Check the dipstick and slowly add a little oil at a time until you get to the full mark. Each time you add some, give the oil a few minutes to trickle down to the pan. Check and recheck until the oil is on the mark. I'm not 100% sure but I think that the difference between the 2 notches on the dipstick is about 2 qts.
That's it, easy peasy. After 3000+ hours this engine doesn't use a drop of oil (fingers crossed).


Comments
Post a Comment