Dinghy Time
 |
| 1st "Splash" Placida, FL |
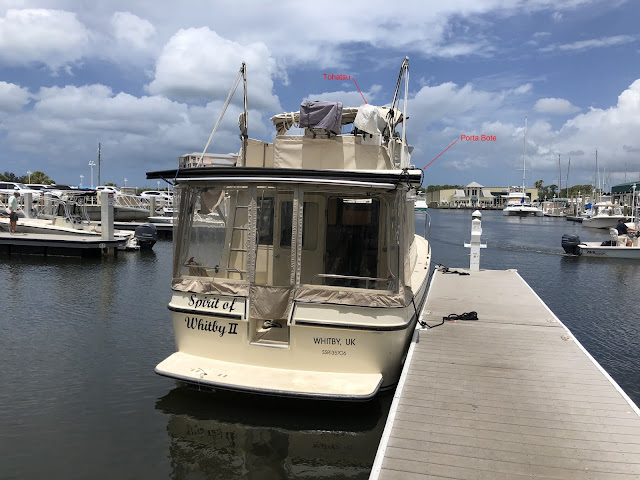
I had no interest in the folding boat as it was a pain to set up, so we sold it and saved the money toward a RIB. The only issue with the Tohatsu was, the carburetor was off & in pieces and there were a few parts missing. With some research I learned that these motors are notorious for carburetor issues so no surprise that the previous owner had issues with it as well.
We searched to find a used RIB but most everything we found was either too big or too ragged. Finally I decided to buy new. PVC or HYPALON? PVC is cheaper, usually about $1,000.00 but doesn't last as long, especially in Florida where it will be out in the sun so much of the time. We "bit the bullet" and purchased a Hypalon. We went a little on the small size but it was mostly based on weight & the size of the motor we already had. We purchased a Zodiac 240 Cadet hard bottom from Defender. Even with shipping it was less expensive than what I could buy nearby.
 |
| A little on the small side |
When we purchased the Zodiac RIB we also bought a set of swim platform davits.
Mounting this 8' dinghy on the swim platform proved to be more of a challenge than I thought. Because it was so short, it made getting a good separation of the davits thought provoking to say the least. I decided to spread them out as much as I could.
 |
| Head Scratching Time |
One davit fell right on the Zodiac label, I felt it would be best to remove the label and ensure the bracket was securely on the tube.
With a pair of vise grips & some Acetone i was able to soften up the glue & pull off the logo. It was a good choice as I really don't think it was fixed on all that well.
Next up was mounting the handles/brackets. I spread them out as much as I could, marked them with a Sharpie, taped them off & lightly sanded the fabric.
 |
| Rough up the Hypalon Fabric |
The 2 part glue is universal for PVC or Hypalon, the only difference is, there is no need to sand or rough up the PVC.
 |
| Ready to Glue |
 |
| 2 Part Universal Adhesive |
I placed some wood blocks under the areas so I could have a flat surface to mount the brackets to. Once in place the RIB needs to sit for a minimum of 48 hours before it can be inflated. After applying a liberal amount to both surfaces, waiting for them to "tack" then reapplying I set them in place. It is difficult to get them flat so I used a combination of wood blocks, clamps & weights to make sure they sat flat.
 |
| Now a 48 Hour Wait |
After a couple days, I inflated the RIB and placed it in the water on the swim platform to mark out where to place the Clips.
FORESPAR has an option to modify your davit head clips to fit the dinghy height, curvature of the swim platform and offset from the platform if needed. After dry setting the davit heads it was apparent I was going to need the front one modified. The rear davit head was perfect but the front needed to be extended out 1" and raised 3". The max they can adjust them is 4" out & 4" up.
 |
| Almost there! |
I filled out the form provided & mailed it to Forespar along with the davit head. Now wait...and wait...and wait...wait, WTF? I called Forespar to see what the hold up was. They informed me that they don't modify many of the davits anymore. "Why in the world do you include the form & information about it then?" After a lot of back & forth and 3 weeks later I asked them to just mail the darn thing back to me & I will modify it myself. Two days later I got a call from Forespar saying, they could do it & that the modified head would be shipped back to me.
The head finally showed up - In fact they sent me 2!
 |
| Modified Davit Bracket |
I made a Starboard backer for a tad more height & stability, mounted it with the supplied 1/4" stainless steel bolts & sealed the holes with 5200.
**UPDATE** This set up just did not work well so we redid the dinghy davits - See "Damn Dinghy"


Comments
Post a Comment